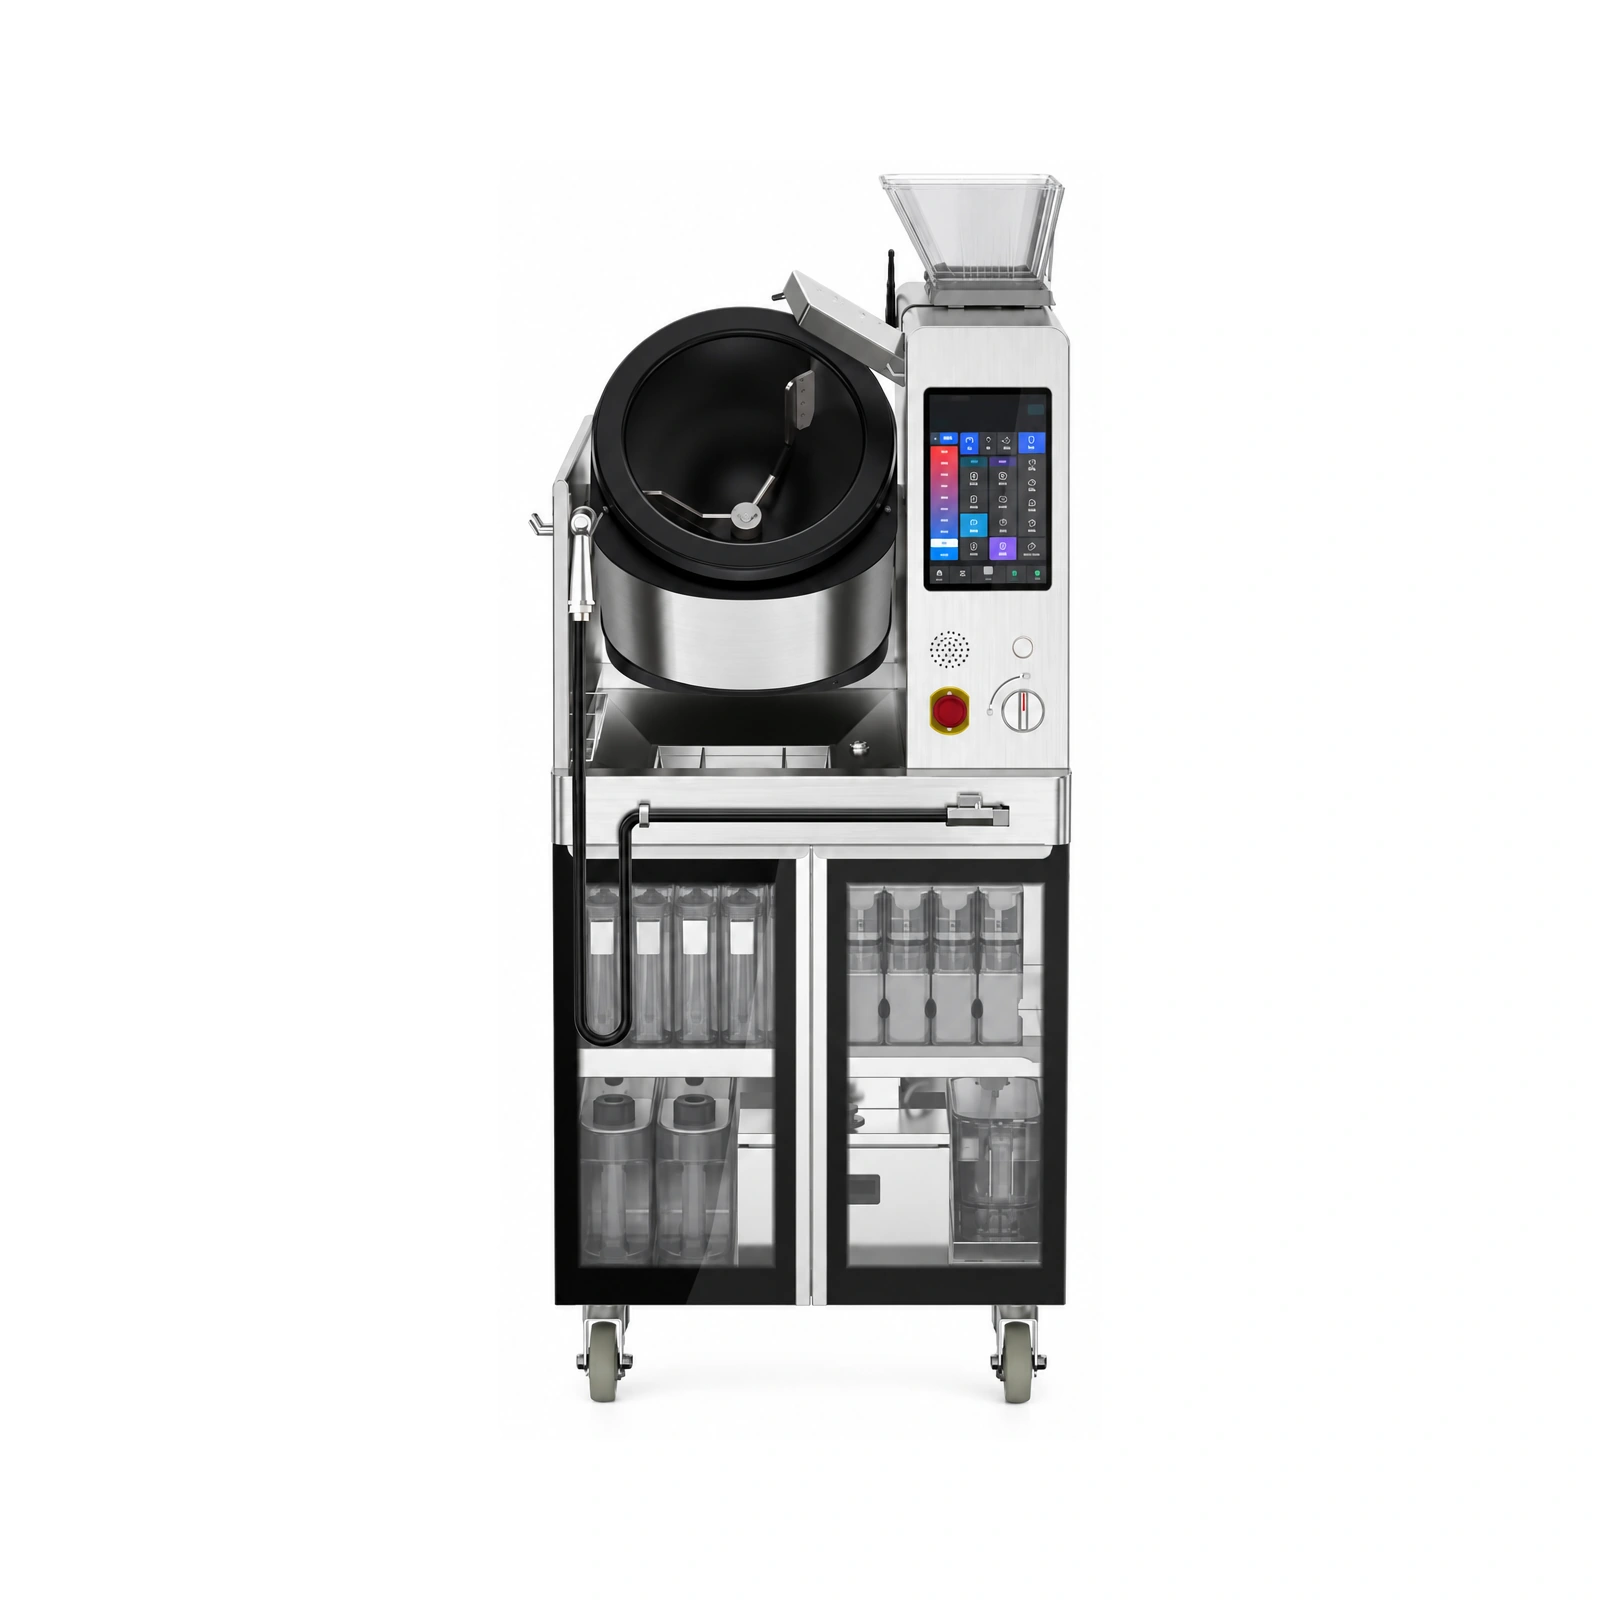
After years in catering equipment I have seen too many robots bought and left gathering dust. Looking back, almost none failed because the machine was no good — nearly all failed because steps were skipped: ordering without research, paying without testing, taking delivery without acceptance terms.
What process does buying a catering robot follow: needs study, proposal, site verification, handover
After a long time in catering equipment I have seen too many robots bought and left gathering dust. Looking back, almost none failed because the machine was no good — nearly all failed because steps were skipped: ordering without doing the research, paying before testing, taking delivery without acceptance terms. A catering robot costs anywhere from tens of thousands to over a hundred thousand and is one of the larger fixed assets in the business, so it deserves a proper process. The full process has five steps — needs study, proposal comparison, on-site verification, contract and handover, and post-installation review — and not one should be skipped.

Step one: needs study — get your own data out first
The study is not about asking the supplier for brochures; it is about getting your own numbers out. Three questions have to be answered: whose work will this machine do, which peak will it carry, and which specific pain point will it solve. Around those three, collect six sets of data: the menu and output structure, which dishes and how many portions of each; peak periods and order volume, read from the till history rather than guessed; back-of-house area, routes and the layout of existing equipment; electrical conditions, single-phase or three-phase, spare capacity, incoming position; the current staffing, posts, wages and turnover; and extraction, water, drainage and network conditions. With those six in hand, everything downstream goes smoothly.
This is the step most often skipped. Plenty of owners are taken by a salesperson to see a demonstration site, the machine looks excellent, and back home it turns out their dish structure does not match and the electrical capacity is not enough — with the money already paid and no way out. A week spent on the study is worth a month of arguments later. If you have no time to do it, have the supplier send an engineer to survey the site and keep the survey report on file, in writing.
Step two: the proposal — make the supplier quote against your data
Take your study data to two or three suppliers and require them to calculate capacity from your output structure, rather than reading a specification sheet at you. In comparing proposals, watch five things: whether the model's capacity matches your peak, with the supplier stating in writing "how many portions in the peak hour, calculated on what dish structure" — anything vague on that basis is treated as not calculated; the list of supporting works, electrical, extraction, routes and counters, which is the item most often left out and where charging extra after delivery is a common industry trick; what the recipe or programme development includes, how many dishes, who does it, since recipe development effort is regularly underestimated; the training, how many people, how many days, to what standard; and the after-sales terms, response time, spare-parts stock and whether anyone is on site.
- Items that must appear in the quotation: equipment price, installation and commissioning, supporting works, recipe or programme development, transport, tax, training and warranty period.
- Where the quotation says "to be discussed" or "settled on actuals", ask for the ceiling there and then and put it in a supplementary clause.
- Compare three quotes on price at the same capacity basis, not on the total — different bases are not comparable.
Step three: on-site verification — whether the machine is any good is known only after testing
A specification sheet tells you the ceiling; on-site testing tells you the floor. Verification runs in three stages. First, take your own ingredients and recipes to the test and have the supplier cook to your actual standards — quick-service outlets testing stir-fries, contract caterers testing large batches — and put the result next to your existing hand-made output; the gap is immediately obvious. Second, a continuous output test: run at least 30 portions at your lunch peak volume and watch consistency, temperature stability and whether it stops part way; an hour of continuous running is worth more than an hour of promotional video. Third, have your own back-of-house staff strip, reassemble and clean it, and time how long the daily shut-down clean takes — this step directly determines whether staff will keep using it, and however good the machine is, if the staff find it a nuisance and do not use it, you have bought nothing.

Where the customer cannot travel to the factory, require continuous video testing and ask for a list of customers in the same scenario, then call them one by one and ask about utilisation, failure rate and after-sales experience. Two or three real reports are worth more than a hundred sentences from a salesperson. The verification conclusion has to be put in writing: write the acceptance criteria into the contract, for example "100 consecutive portions with no fault" and "output consistent with the confirmed recipe", so that if there is ever a dispute there is a written basis.
Step four: contract and handover — write the acceptance milestones clearly
Arrival is not the completion of delivery. The proper practice: unpack on arrival with both parties present, check the main unit, accessories, ingredient bins and tools against the packing list, record any shortage on the spot and photograph it as evidence; installation and commissioning are done by the supplier, with the completion deadline written into the contract and the liability for delay agreed; training follows commissioning, with the whole back-of-house attending rather than the manager alone, and a practical assessment before signing; then a trial period, usually 7 to 30 days, during which the handling time and compensation terms for any fault affecting trading are agreed in advance; and the final acceptance is signed only when the trial passes, with the warranty period running from the date of acceptance, not from dispatch.
Step five: review the first three months — do not walk away after acceptance
The first three months after handover are the window that decides success or failure. Watch three numbers every week: portions produced, number of stoppages and actual utilisation by staff. Where utilisation falls away, the cause is essentially one of two: the training did not keep up, so staff cannot or dare not use it; or the process was not changed, old habits continued, and the machine became an exhibit in the corner. Intervene as soon as utilisation starts to drop — retrain where retraining is needed, change the process where the process is at fault. Get three months running smoothly and the machine has genuinely become part of your outlet; if not, expose every problem while it is still under warranty, which is far better than repairing it once the warranty has expired.
Finally, to underline the three things most often skipped: the site survey — you must go and look at the power, the position and the routes before ordering, and photographs and video do not count; the acceptance criteria — written into the contract, with verbal promises excluded; and the training assessment — everyone has to be able to operate it, and the owner being able to press the start button does not count. Follow the whole process and what you buy is a machine that produces; skip steps and what you buy may be a space-consuming exhibit.
The content of this article is for selection reference. Specific figures are subject to the manufacturer's official parameters and on-site verification.